
Consumer research says that the way you show off your products affects sales. The more beautiful your presentation, the more willing the customer is to buy. It happens subconsciously, just like judging a book by its cover.
That same concept applies to your donors’ willingness to bid on items at your auction fundraiser. When you showcase your items professionally, you’ll earn higher bids for each item (meaning you raise more money for your cause).
But you don’t have to spend a fortune on professional photographers, high-end equipment, or fancy display cases. Let’s take a look at how you can showcase your auction items like a pro while staying within your budget.
Ready for Hassle-Free Item Uploads?
Upload items to your auction page fast with CharityAuctions.
Start Your Auction for FreeHow to Photograph Items
In the age of online shopping, everyone is used to browsing professional product photos on online shops like Amazon, Shopify, and Etsy. So when you post your item photos on your online auction page, you’ll have to meet those high expectations your donors have.
These 5 tips will teach you how to take photos of your auction items.
Start with a Quality Camera
Even if you have a catalog full of high-quality auction items, bad photographs can turn away potential bidders.
A good camera is your first step to ensuring your photographs look clean and professional. You’ll catch all the details and prevent turning off bidders with low-resolution or blurry photos.
Budget-Friendly Tips:
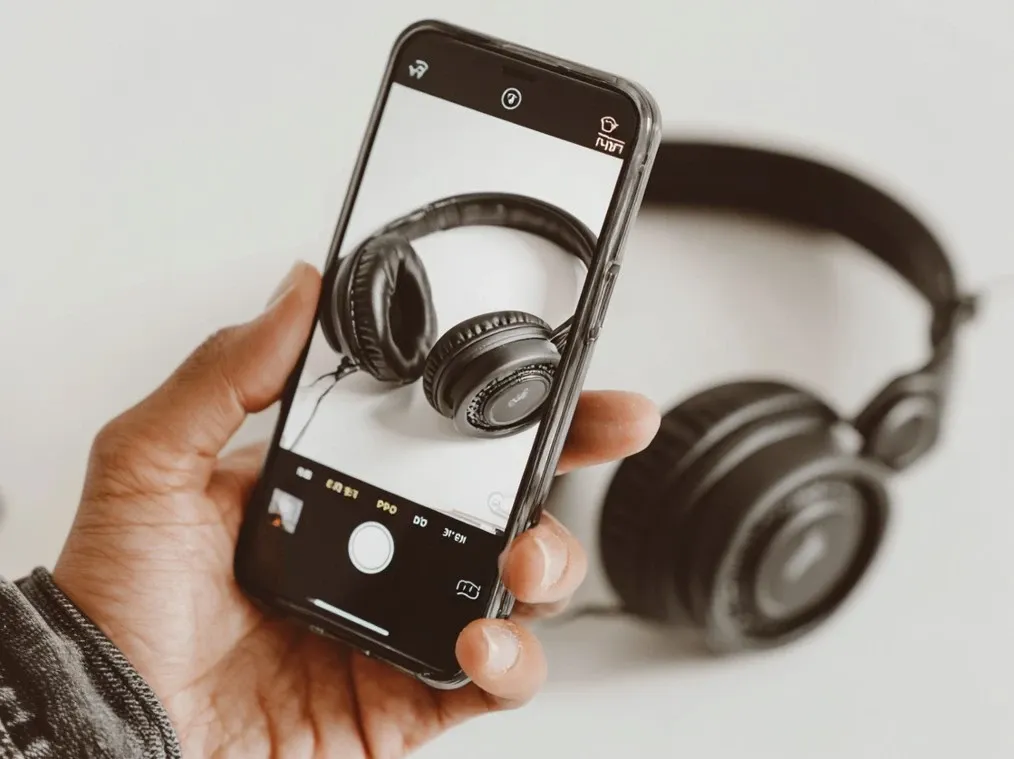
- Take photos with your smartphone. Most smartphone cameras have become advanced enough to match the quality of professional cameras.
- Request a camera as an in-kind donation. Be sure to offer brand exposure in exchange for any donations from businesses.
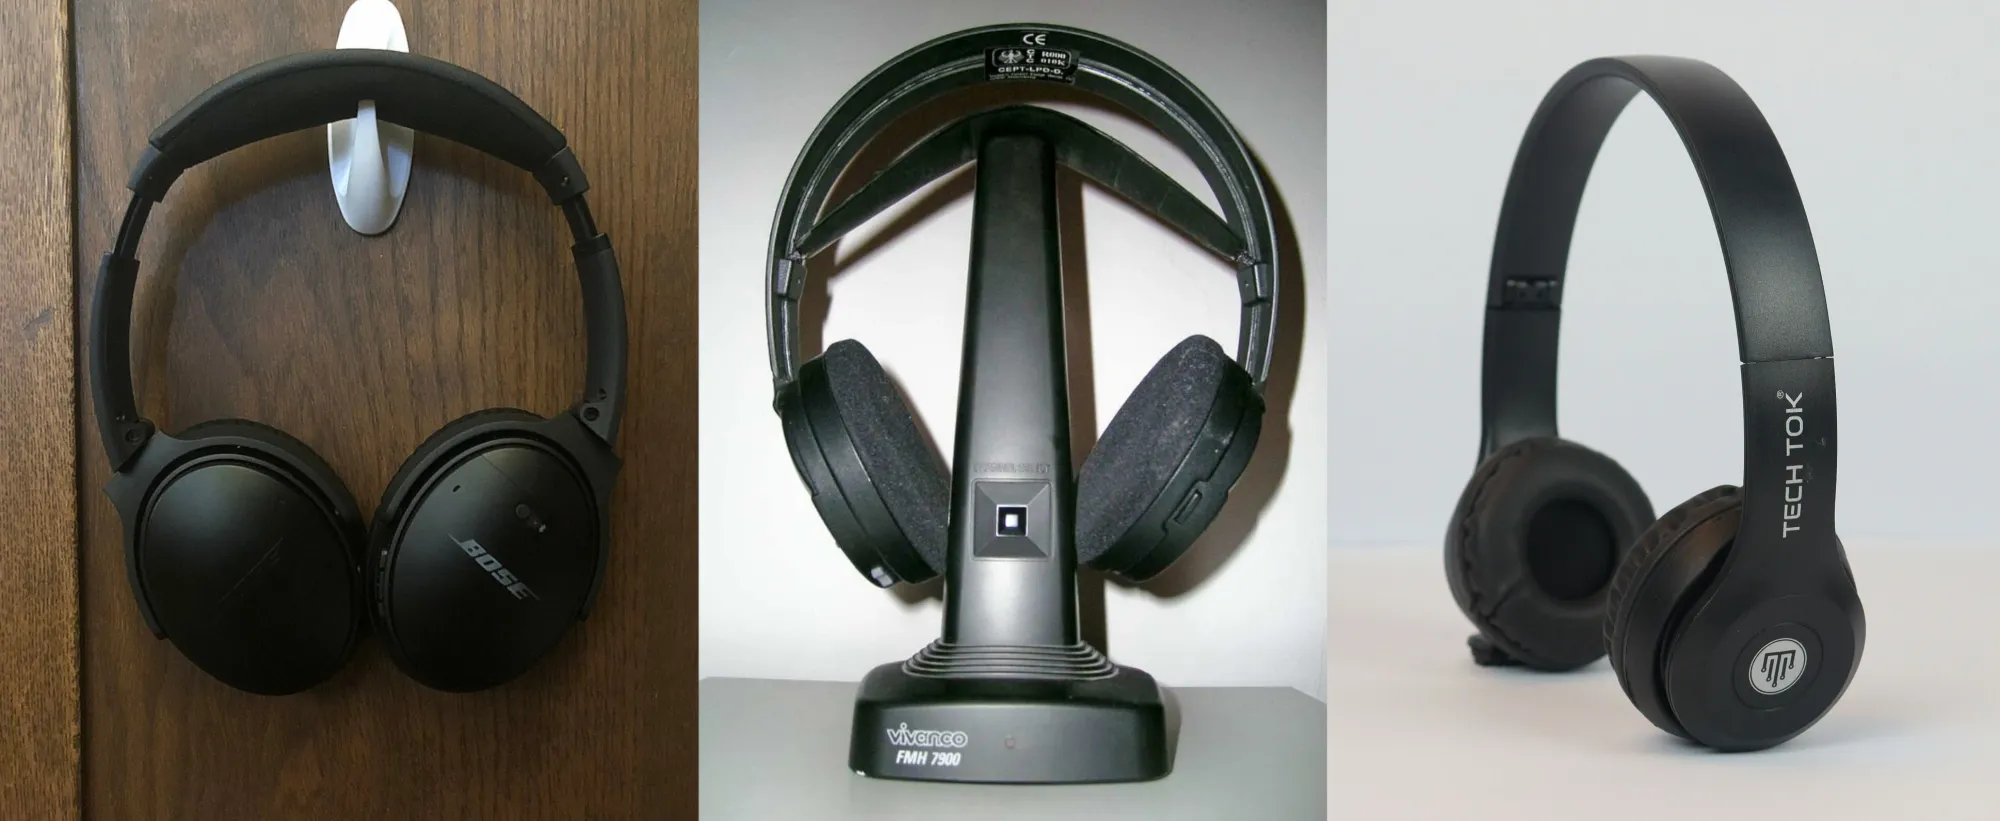
Shoot with a White Background
You don’t need to decorate an elaborate backdrop for your photos. If you can’t find a good location for your photoshoot, the best background is a simple white backdrop.
A white background works best for three reasons:
- It removes background distractions.
- It makes the product the center of attention.
- It creates a consistent, polished, and clean look.
But what happens when you have a white or light-colored item? Natural lighting can help you photograph white products on a white background.
Budget-Friendly Tips:
- Make your own DIY white backdrop for small items. All you need is white poster paper to serve as your backdrop and reflectors.
- Drape a bedsheet to create a DIY white backdrop for large items.
Adjust Lighting
If you’ve ever taken a selfie, then you have an idea about lighting and shadows. You probably understand that soft, natural light with even light distribution is ideal but not always possible.
To achieve that flawless look anywhere, use multiple light sources from different angles to light up your items. Artificial lighting can achieve this, or a mixture of natural light with artificial light can do the trick.
Remember to never use the flash on your phone or camera as your light source. Camera flashes create harsh lighting and shadows.
Budget-Friendly Tips:
- Desk lamps and floor lamps are great light sources on a budget. You can use these with your DIY backdrop.
- Purchase an affordable lightbox on Amazon. These small lightboxes will save you money compared to professional set ups with photography umbrellas and reflectors.
Edit Images
If you’re a Photoshop pro, you already know what goes into photo editing.
But even if you don’t own Photoshop, you’ll still want to edit your photos before posting them on your auction page. Your edits don’t have to be intensive—a quick editing pass can be the difference between professional vs amateur-looking photos.
Create a professional look by cropping your photos and editing:
- Brightness, contrast, or exposure
- Highlights and shadows
- Saturation and color balance
- Sharpness
Use the same edits across your whole photo set to create a consistent look. If you raise your brightness by 20% on one photo, raise the brightness on all other photos by 20% (or near 20%) as well.
Budget-Friendly Tips:
- Utilize free editing software. Some options include:
- Photo Apps
- Gimp
- Utilize cheap editing software if you’re in need of more advanced features or ease of use. Some options include:
Source Images When You Can’t Take Photos
For items like event tickets or vacation packages, photographs of a ticket or digital pass won’t do. Since you likely can’t take photos of the experience yourself, ask the donor for photos or source free images online.
When selecting photos, show the experience, not the location. For example, if you’re selling a spa package, don’t show the store front of the spa. Instead, show an image of someone enjoying a spa treatment.
We want to emphasize that even as a nonprofit, copyright still applies to your photo usage. Images with copyright must be purchased, so pay attention to licenses and restrictions.
Budget-Friendly Tips:
- Ask the donor for photos.
- Look for free stock photos online. You can find free stock photos on:
How to Display Items at Silent Auctions
What if you’re hosting a live silent auction instead? We have 5 strategies to help you set up visually appealing item displays at your event.
Pay Attention to Lighting
Donors can become frustrated if your silent auction has poor lighting on your items, or they may overlook items obscured by the dark.
To ensure your items stand out, pay special attention to lighting.
Budget-Friendly Tips:
- Look for the most well-lit areas at your event space. Arrange tables with your silent auction items underneath the best lights in the room.
- Host your silent auction during the day. Natural daylight from windows can provide great lighting.

Create Clear Signs and Labels
Every item display should have a label with a brief but detailed description. This should include any features of the item, the story behind the item if applicable, and the donor who gave the item.
Here are some tips for effective labeling:
- Use large, easy-to-read fonts.
- Make sure labels are visible from a distance—your auction tables might get crowded.
- Include a unique item number for easy reference.
- Provide a QR code for more detailed information online.
In addition to item descriptions, consider signs that indicate categories or themes. This helps bidders navigate the auction space and find items of interest more easily.
Budget-Friendly Tip:
- Look for deals on acrylic sign stands on Amazon.
Group Items Strategically
You can create a fluid viewing experience for your bidders by grouping similar items together. Arrange your items strategically and take into account the flow of foot traffic when choosing where to showcase high value items.
Budget-Friendly Tip:
- Group similar items into a single display. You can create engaging displays by arranging items together instead of purchasing decor.
Display Gift Cards Creatively
Gift cards and gift certificates can be difficult to spot in a sea of great silent auction items.
You can make gift cards stand out by:
- Displaying engaging and relevant photos on signs.
- Bundling gift cards with other items or gift baskets.
Optional: Use Mannequins for Wearable Items
Mannequins are great for displaying items like clothes, hats, jewelry, watches, and anything wearable. Using mannequins lets your bidders visualize how your items could potentially look on them and it looks more presentable than when lying flat.
Budget-Friendly Tip:
- Use hangars to save money when displaying clothes. If mannequins are too expensive or you’re unable to find mannequin donations, hang clothes on racks instead.
How to Make Your Item Pages Look Professional
Displaying your auction items isn’t just about photos or table setups—your online catalog is where most bidders will see them first. For hybrid and online auctions, your photos and auction pages work together to create a cohesive and professional-looking experience online.
Most auction software do provide templates, but making those pages look polished usually requires extra work, like customizing fonts, adjusting layouts, and paying for upgraded branding features.
To automatically display items in a professional layout, choose CharityAuctions.com as your auction software.
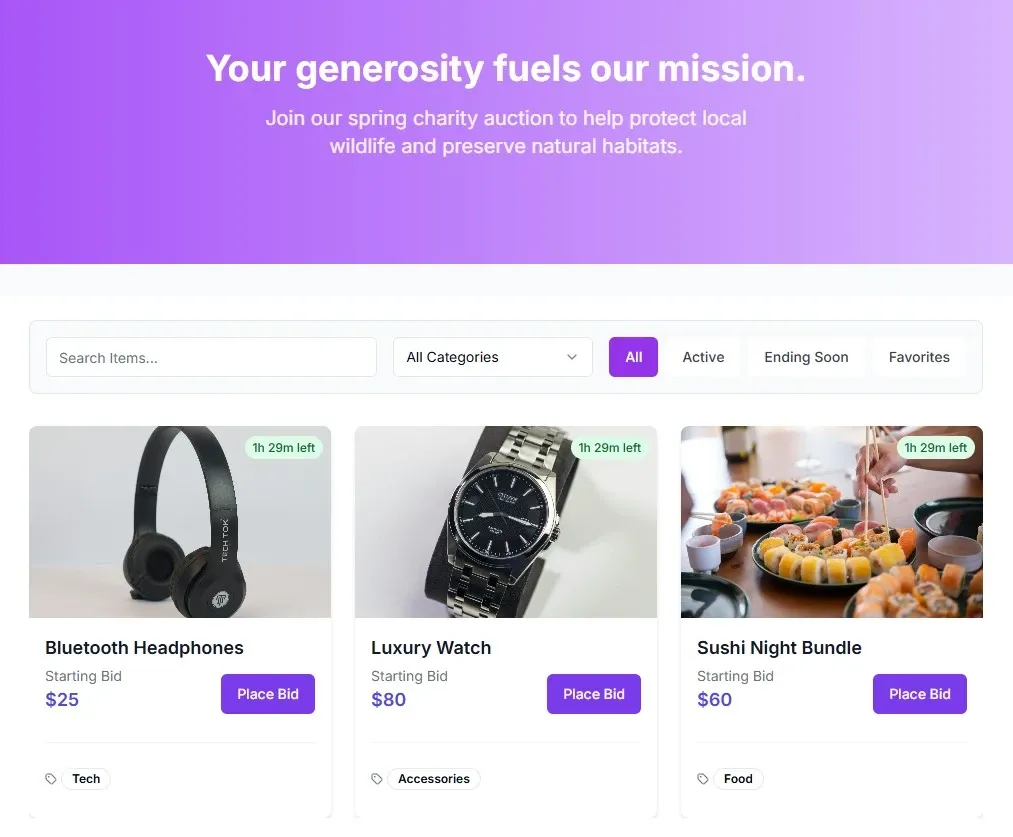
Just upload your photos and details, and your catalog will:
- Showcase every item in a modern, easy-to-browse layout
- Keep photos, descriptions, and donor info consistent and clear
- Look great on both desktop and mobile—no tweaking required
That way, you get the same polished presentation online that you worked hard to create in your photography and live displays (without asking your team to play web designer).
Budget-Friendly Tip:
- For auction pages that look professional right out of the box, choose CharityAuctions.com. Don’t waste staff time or budget customizing layouts on other platforms.
Ready to Elevate Your Auction Presentation for Less?
While you focus on making your item photographs and displays look amazing, we take care of making your auction page look flawless so you don’t have to.
If you’re ready to get started, check out our demo and learn how to reduce your platform fees to as low as 3% with CharityAuctions.
For more auction strategies, see our complete Auction Best Practices Guide.
Frequently Asked Questions
Are photos that important for my online auction?
Yes, photos are very important! Your donors will subconsciously judge your items based on their presentation. Low quality photos can make your items appear to be lower value and earn you lower bids.
Do I need professional equipment to photograph auction items?
No. Today’s smartphones are powerful enough to take high-quality auction photos if you use good lighting and a clean background. Even small nonprofits can take high quality photos on a budget!
Does it take long to upload my items onto my auction page?
Not at all. Uploading item photos and item details is fast and easy with CharityAuctions.
💡 Try this in ChatGPT
- Summarize the article "How to Photograph and Display Auction Items (While Saving Money)" from https://blog.charityauctions.com/how-to-display-items/ in 3 bullet points for a board update.
- Turn the article "How to Photograph and Display Auction Items (While Saving Money)" (https://blog.charityauctions.com/how-to-display-items/) into a 60-second talking script with one example and one CTA.
- Extract 5 SEO keywords and 3 internal link ideas from "How to Photograph and Display Auction Items (While Saving Money)": https://blog.charityauctions.com/how-to-display-items/.
- Create 3 tweet ideas and a LinkedIn post that expand on this How To topic using the article at https://blog.charityauctions.com/how-to-display-items/.
Tip: Paste the whole prompt (with the URL) so the AI can fetch context.